Natural Light Portrait Photography Made Simple
Learn how to use window light for flattering portraits without expensive equipment. We'll walk through the best times of day, positioning tips, and common mistakes you can avoid.
Why Natural Light Changes Everything
Here's the thing — you don't need studio lights or expensive reflectors to take gorgeous portraits. Window light is free, it's always available, and it's genuinely flattering. We've been teaching photography to folks just like you for years, and this is where everyone starts.
The difference between a harsh, unflattering photo and one that makes someone actually want to keep is usually just about understanding how light works. Once you see it, you can't unsee it. And that's what we're going to show you today.
Best times of day for portraits
Key positioning techniques
Mistakes to avoid
The Golden Hours Aren't Just for Sunset
You've probably heard photographers talk about golden hour. It's real. The hour after sunrise and the hour before sunset — that's when the sun's at a low angle and the light turns warm and soft. Perfect for portraits.
But here's what nobody tells beginners: midday light works too. You just need to find shade. A tree, a building shadow, even the overhang of your house — that's where you position your subject. The open shade keeps things soft and removes those harsh shadows under the eyes.
Cloudy days? Even better for portraits, honestly. The clouds act like a giant softbox. No harsh shadows, no squinting. It's consistent light for the whole session.
Warm, low angle, minimal harsh shadows
Soft, diffused light without direct sun
Warm tones, dramatic but flattering angles

Positioning: The 45-Degree Rule
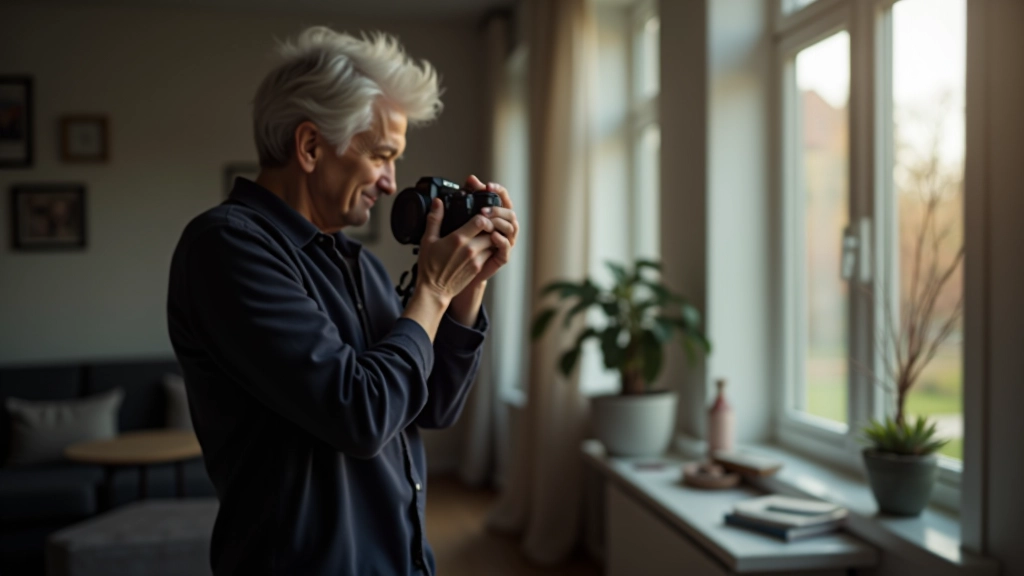
Don't shoot straight at your subject with the light directly behind them. That's backlit and it'll blow out your exposure. Instead, position them at roughly 45 degrees to your light source.
What does that mean in practice? If you're shooting by a window, have your subject stand so the window's off to the side. Not directly to the left or right — somewhere in between. This creates dimension. One side of the face gets gentle highlight, the other side gets softer shadow. That's what makes a portrait look three-dimensional instead of flat.
The distance matters too. Don't press them right against the window. About 3-5 feet away from the light source is ideal. Close enough to get that soft glow, far enough that you're not getting weird reflections in the eyes.
"Once you understand light direction, everything clicks. It's not magic — it's just physics."
Seven Mistakes We See All the Time
After watching hundreds of people learn portrait photography, we've seen the same problems pop up repeatedly. Here's what to watch out for.
Backlighting Everything
Positioning your subject between the camera and the light. You'll get blown-out backgrounds and silhouettes.
Standing Too Close to the Light
Right at the window creates weird reflections and harsh shadows. Give yourself 3-5 feet of distance.
Shooting Into Direct Sun
Your subject squints, you get harsh shadows under eyes and nose. Find shade instead.
Ignoring Your White Balance
Window light has a different color temperature than overhead lights. Set it properly or everything looks orange.
Not Using Reflectors
You don't need expensive ones. White paper, foam board, or even a white bedsheet fills shadows nicely.
Cropping at the Joints
Cutting off at wrists, elbows, or ankles looks awkward. Leave some space or go tighter to the face.
Overthinking It
Start simple. Window light. Subject at 45 degrees. You'll nail it faster than you think.
Camera Settings That Actually Work
You don't need manual mode to take great portraits. Aperture priority mode is your friend. Here's why: you set the aperture (aim for f/2.8 to f/5.6 — softer background, sharp face), and the camera figures out the shutter speed.
If you're using a smartphone, you've already got portrait mode. Use it. It blurs the background automatically and keeps the subject sharp. It's genuinely well-designed.
The one setting that changes everything? Exposure compensation. If the background is bright (like a window behind your subject), dial down exposure by -1 or -2. If the background is dark, dial up by +1 or +2. This keeps your subject properly exposed instead of looking too dark or washed out.
Your First Session: What to Expect
Ready to actually try this? Here's how to set yourself up for success.
Pick a time and location
Choose morning light or open shade. Your living room window works perfectly.
Position your subject
45 degrees to the light, 3-5 feet away. Have them relax. The best portraits happen when people aren't thinking about the camera.
Take lots of shots
Don't overthink each frame. Shoot 50-100 images. You'll get 3-5 really good ones. That's normal.
Review and adjust
Check your first few shots on camera. Is the face properly exposed? Is the background distracting? Move slightly and try again.
Don't wait for perfect conditions. Imperfect light beats no photos at all. You'll learn more from actually shooting than from reading about it.
Ready to Learn More?
Natural light portraiture is just the beginning. We teach the full range — from camera basics to darkroom work to sharing your prints digitally. Everything's designed for people who actually want to understand photography, not just press a button.
Explore All Photography CoursesEducational Information
This article provides educational guidance on portrait photography techniques. Results vary based on individual equipment, settings, and practice. Specific camera models and software may have different interfaces than described. We recommend consulting your camera's manual for model-specific instructions. The techniques presented represent common practices but aren't the only valid approaches to portrait photography.
Continue Your Learning