Your First Black and White Film Development
Master the darkroom process step by step. We'll walk you through timing, temperatures, and what actually goes wrong—and how to fix it.
Why Develop Your Own Film?
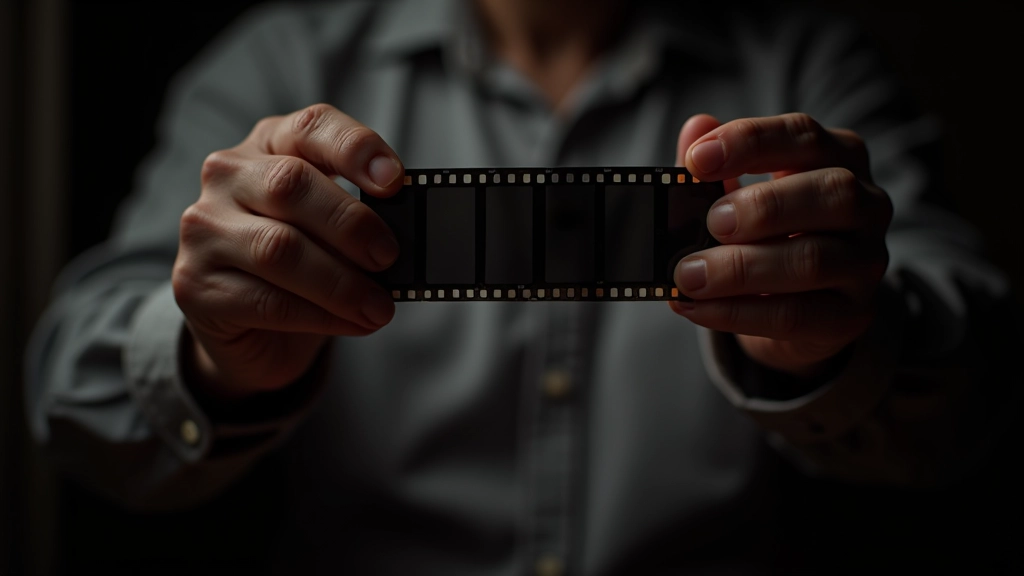
You've taken your shots on black and white film. You've got the negatives sitting in your hand. Now what? Here's the thing—developing film at home isn't magic. It's chemistry, but it's straightforward chemistry. You'll need a darkroom (or even a changing bag), some chemicals, and about 45 minutes of your time.
The real advantage? Complete control. You're not sending your work off to a lab and hoping they get the contrast right. You're deciding exactly how your negatives look. Plus, once you've got the process down, it costs almost nothing per roll. Most people who've developed film before tell us the same thing: "I wish I'd started doing this years ago."
The Three Chemicals You'll Need
Black and white development uses three main chemicals. Each one does a specific job, and they work in sequence. Don't skip steps—the order matters.
Developer
This is where the magic starts. The developer converts exposed silver halide crystals into metallic silver. You'll dilute it (typically 1:9 ratio), and temperature matters—we're talking about precision here. Kodak D-76 is a solid choice if you're starting out. It's forgiving and reliable. Most developers work at 68-70°F (20-21°C).
Stop Bath
This stops development immediately. Acetic acid (basically diluted vinegar) halts the chemical reaction. You'll use it for 15-30 seconds. It's cheap, effective, and honestly, it smells like pickles. But it works. Some photographers skip this and use water instead—it's slower, but it works.
Fixer
Fixer removes the unexposed silver halide that the developer didn't convert. Without it, your negatives would eventually turn black—the unexposed silver would darken over time. You'll typically use fixer for 5-10 minutes. Sodium thiosulfate is the standard. It's the final step before washing.
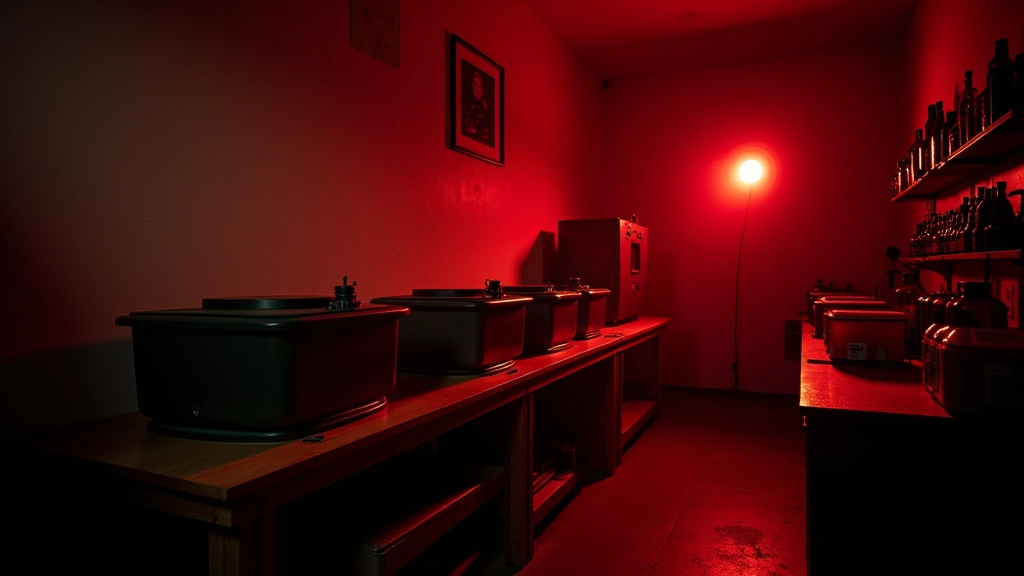
The Development Process: Step by Step
The actual development happens fast. You've got your film on the reel, chemicals mixed and at temperature, and a timer ready. Let's walk through it.
01
Load Your Film
You'll do this in complete darkness—in a changing bag or a real darkroom. Rewind your film fully, open the canister, and load it onto the reel. If you've never done this, practice with a dummy roll first in daylight. The reel has a spiral groove, and you're threading the film into it. Takes about 2-3 minutes once you know what you're doing.
02
Developer Immersion
Pour developer into the tank and start your timer immediately. You're developing for 6-8 minutes typically (depends on your film, developer, and temperature). Agitate for the first 30 seconds, then agitate every 30 seconds for 5 seconds. This keeps fresh developer touching the film. Don't over-agitate—it'll increase contrast and fog.
03
Stop Bath
Pour out developer completely. Add stop bath immediately—you want this to work fast. 15-30 seconds with gentle agitation. The developer's done its job; now you're halting it. Then pour out the stop bath.
04
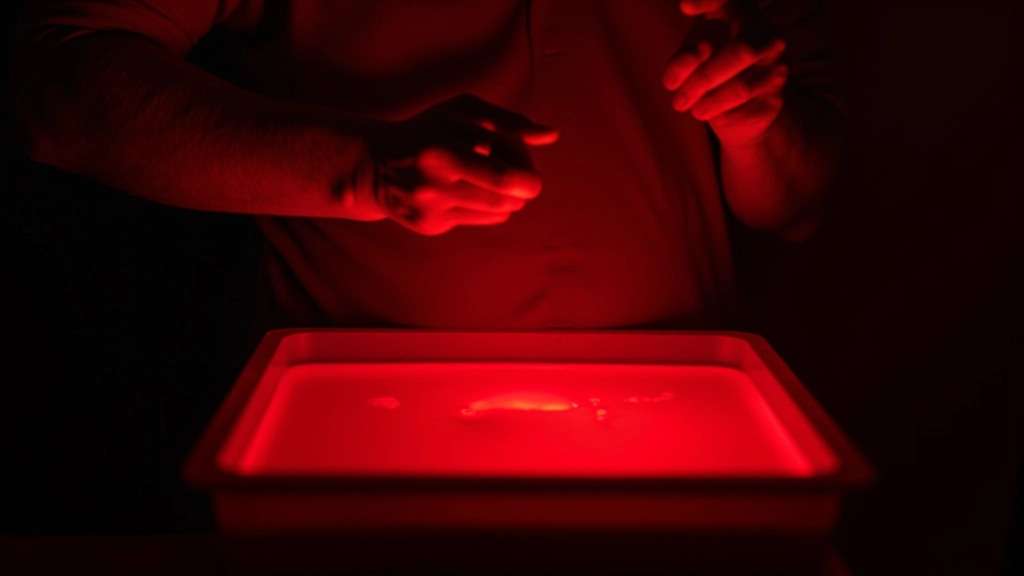
Fixing Your Negatives
Pour in fixer. Set your timer for 5-10 minutes depending on your fixer type. Agitate the same way—every 30 seconds for 5 seconds. This step is critical. Unfixed film will fade and turn yellow. Once you hit that 5-minute mark, you can actually turn the lights on if you've got a safelight. The film won't be fogged by normal light anymore.
05
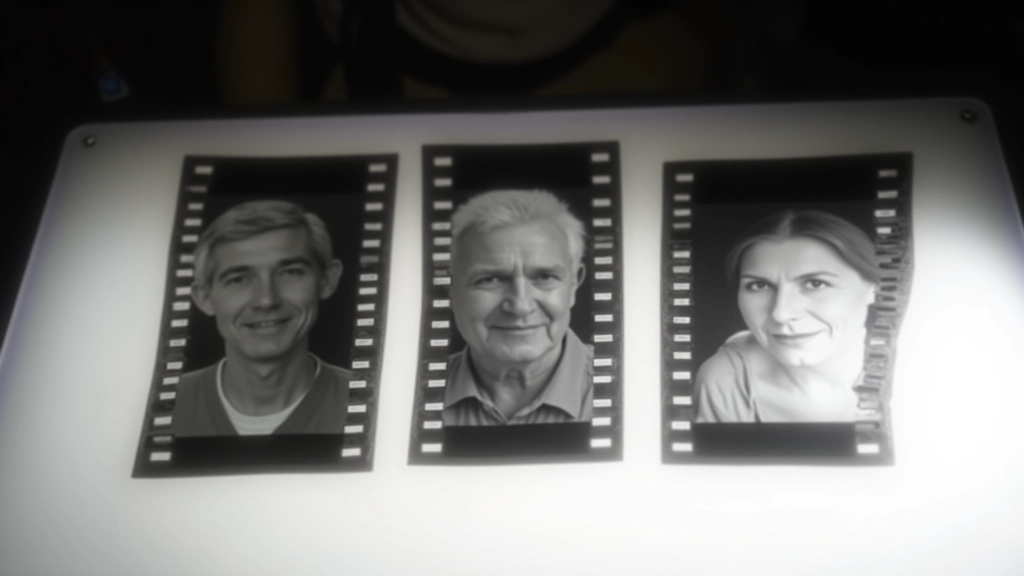
Final Wash
Pour out fixer. Now you'll rinse thoroughly—at least 5 minutes of running water, changing the water every minute or so. Some photographers do a 20-minute wash to be absolutely sure all fixer's out. Any leftover fixer will eventually cause staining. Then hang your film to dry in a dust-free place. Takes 2-4 hours depending on humidity.
What Goes Wrong—And How to Fix It
Your first roll might not be perfect. That's completely normal. Here's what to look for on those negatives.
Negatives Too Light
Under-development. You either didn't develop long enough, or the temperature was too cold. Developer works slower in cold. Next time, extend development time by 30 seconds and check your thermometer. Aim for 68-70°F (20-21°C). It's the sweet spot.
Negatives Too Dark
Over-development. You left it in developer too long. It happens—especially when you're distracted and forget to set a timer properly. Next roll, stick to the recommended time strictly. A kitchen timer helps.
Streaks or Uneven Development
Poor agitation. The film reel needs consistent agitation so developer reaches all parts evenly. If you're not agitating, you'll get uneven density. Agitate those first 30 seconds, then every 30 seconds. Don't be shy about it.
Spots or Dust Marks
Contamination during drying. Dust settled on wet film. Hang it in a dust-free area—a closet is better than open air. And wipe it down gently with a clean, lint-free cloth after it's mostly dry. A final rinse in distilled water helps too.
Faint Yellow Cast
Incomplete fixing or incomplete wash. Make sure you're fixing for the full recommended time, and wash thoroughly afterwards. If it's already happened, don't panic—it might fade a bit over time, but it won't get worse if you've dried it properly.
Completely Black Film
You forgot to fix it, or the fixer was exhausted. Fixer has a life—after processing many rolls, it stops working. Keep track of how many rolls you've fixed. Most fixers handle 8-10 rolls before they're done. Mark it on the bottle.
Practical Tips From People Who Do This Regularly
Get a thermometer. Seriously. Temperature is everything. A cheap digital thermometer that clips to your tank costs $10 and saves you from ruined rolls. Check your temperature before you start, not during.
Keep notes. Write down what you did—which film, which developer, exact time, exact temperature, how many agitations. Your first roll won't be perfect, but when you look back at your notes, you'll see what worked and what didn't.
Buy fresh chemicals. Old developer doesn't work well. If your developer's been sitting for a year, replace it. It's cheap compared to wasting film.
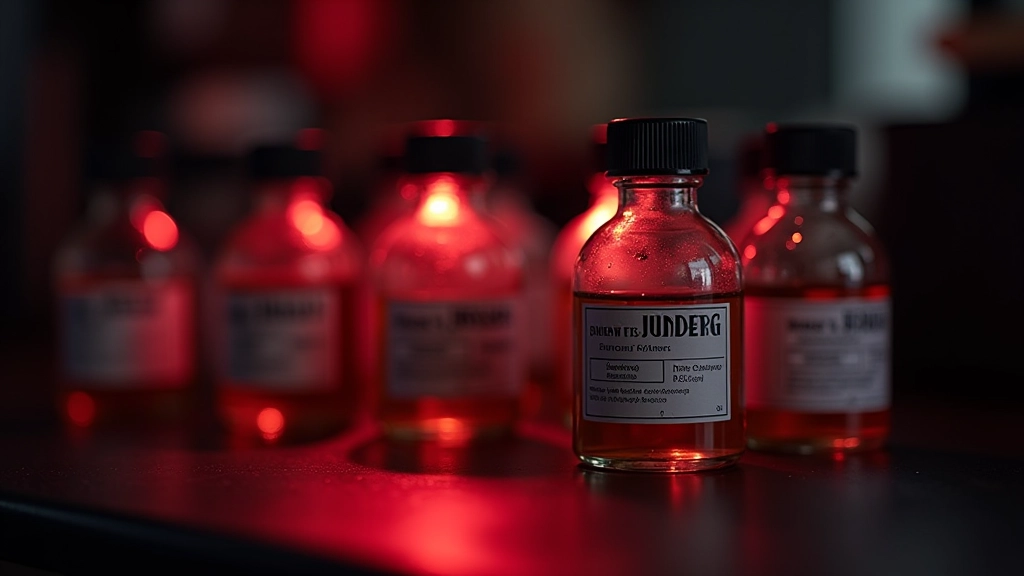
Don't mix chemicals in glass. Use plastic containers. Some chemicals react with glass over time. A set of labeled plastic bottles costs nothing.
Start with one type of film. Don't try Tri-X, Plus-X, and Ilford all at once. Pick one film, develop it 5 times the exact same way, and nail the process. Then branch out.
Wash your hands. Seriously. Fixer gets under your fingernails and will stain prints for weeks. Wash thoroughly after you're done.
Ready to Develop Your First Roll?
You've got the knowledge. You know what the chemicals do, how long everything takes, and what to watch for. The next step is actually doing it. Your first roll might not be perfect—and that's okay. Every photographer who's ever printed from their own negatives had a learning curve. You're about to join that group.
Explore More Photography GuidesA Note on Safety and Chemical Handling
This guide is educational and describes standard darkroom practices. Black and white film development uses chemicals that should be handled with care. Always wear gloves and work in a well-ventilated space. Read the safety information that comes with your chemicals. If you have skin sensitivities or respiratory concerns, take extra precautions. The techniques described here reflect established darkroom methodology, but individual results may vary based on specific film stocks, developers, and conditions. This information is not a substitute for the manufacturer's instructions on your specific chemicals.
Continue Your Learning